Installing Comodo System-Cleaner
Before you install Comodo System-Cleaner, please make sure to quit all other Windows Programs. Comodo System-Cleaner installer requires administrative privileges. After downloading the setup file to your local drive, double click on it to start the installation wizard.
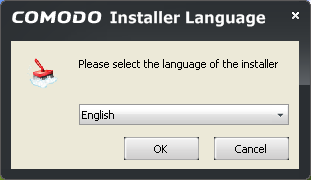
The set up program starts automatically and the language selection dialog is displayed. The default language is English. If you wish to install in a different language then make your choice from the drop down and click 'OK'.
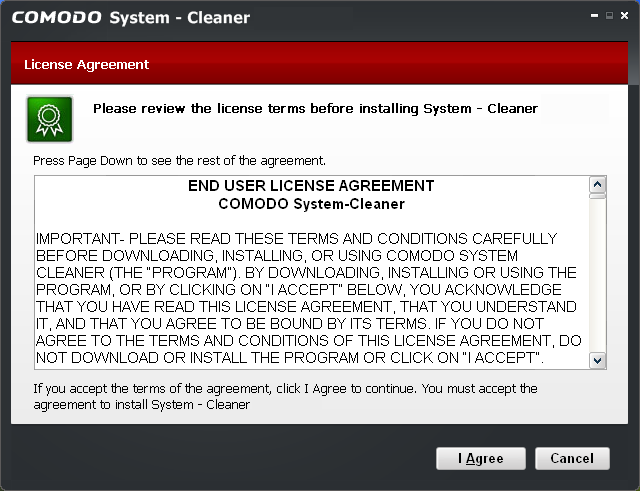
Step 2 - End User License Agreement
Complete the initialization phase by reading and accepting the End User License Agreement (EULA).
Click the I Agree button to continue installation. If you want to cancel the installation, click Cancel.
Step 3 - Select Destination Folder for Installation
The next screen allows you to select the installation folder. The default path is C:\Program Files\COMODO\System-Cleaner. You can choose to install to a different location by clicking the 'Browse' button.
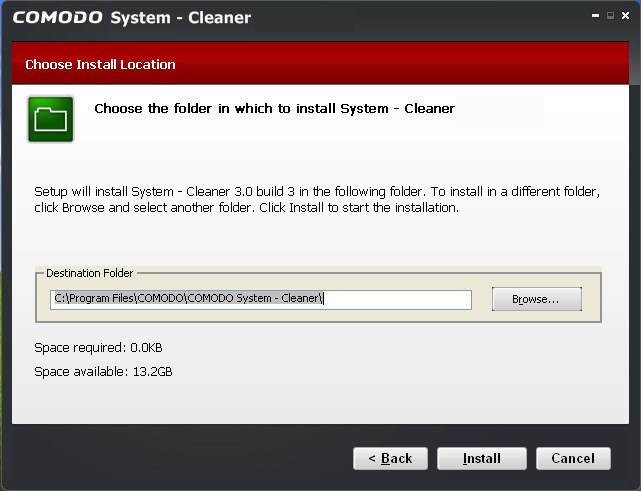
Once you have made your choice, click Install.
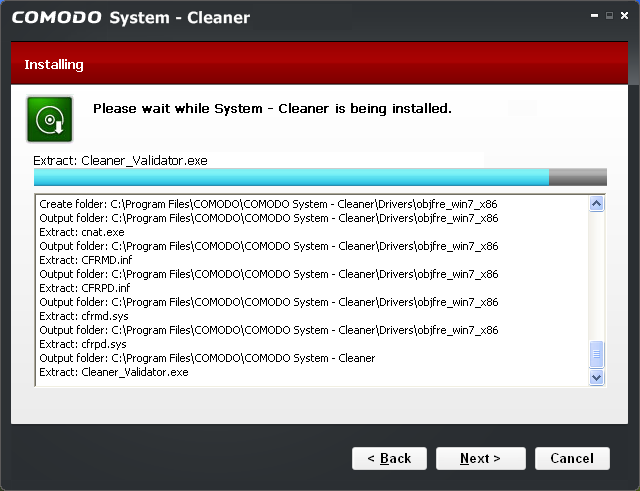
Step 4 - Setup Progress
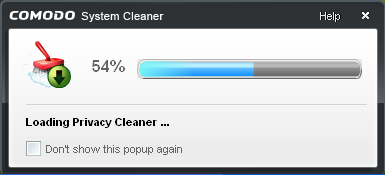
A setup status dialog box is displayed. You will see a progress bar indicating that the files are being installed.
Clicking Show Details displays a list of files being copied in your system.

On completion of installation, the application starts scanning your system and updates its database.
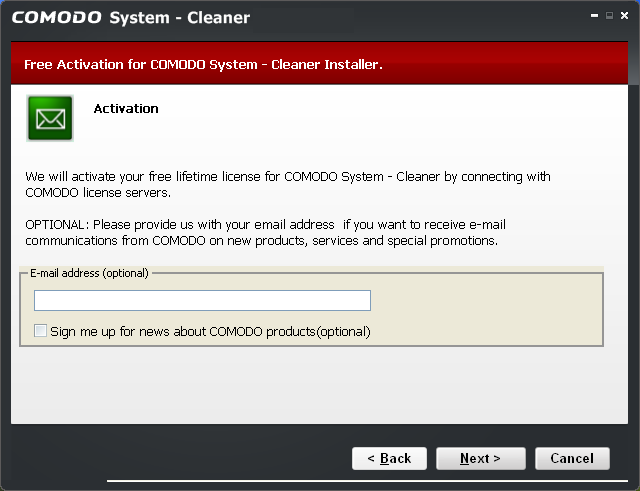
Step 5 - Product Activation
On completion of Scanning, the product activation dialog is displayed. Comodo System-Cleaner is activated free of cost for lifetime usage. If you wish to sign up for news about Comodo products then enter your email address in the space provided and select Sign me up for news about Comodo products.
This is optional. Click Next.
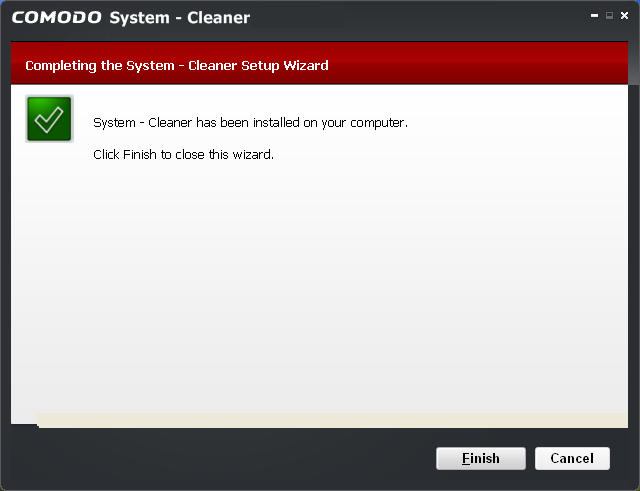
Step 6 - Finalization
An Installation complete screen is displayed.
Click Finish to complete installation.
0 komentar:
Posting Komentar