Privacy Cleaner
Windows applications often keep a record or history of your recent usage and activity. These records can represent a threat to your privacy as they could be accessed and viewed by unauthorized personnel. Comodo Privacy Cleaner keeps your personal details safe and sound by comprehensively clearing all traces of private data from Internet browsers, Instant Messenger and Windows software.
The Privacy Cleaner can be accessed by clicking the Privacy Cleaner link in the left hand navigation.

Clean
Privacy Cleaner profiles allow you to quickly erase your browser cache, cookies, Internet history, typed URLs, temporary Internet files, recently opened documents and other records that may have been created by Windows. If configured, the scanner will also remove other privacy concerns such as media player playlists, recently opened Office, Adobe Acrobat and Winzip documents. Regularly clearing your history of documents is a very good practice for all users but is especially recommended for shared computers.
Comodo maintains a constantly updated database of applications which are known to retain some form of usage history. When CSC is run for the first time, it checks which applications are installed on your PC then downloads the appropriate list of areas that need to be cleaned (including any registry keys and folders buried within the software’s installation directory).
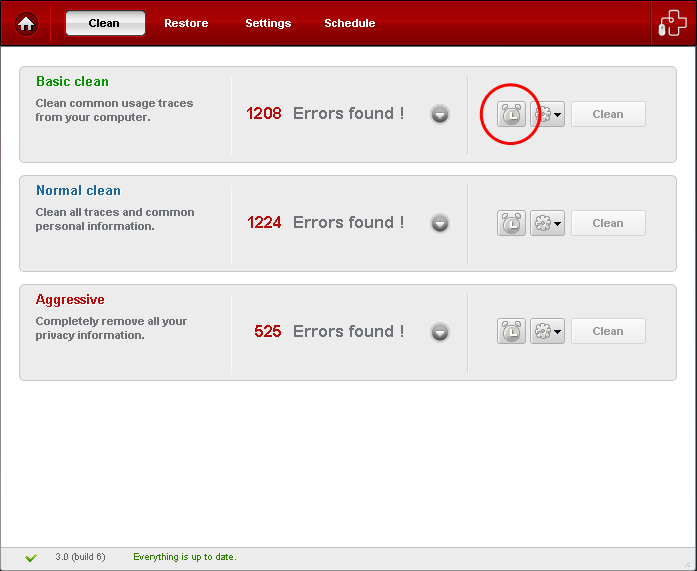
Comodo Privacy Cleaner ships with three default profiles : Basic Clean, Normal Clean and Aggressive.
- Basic Clean will scan only those privacy locations that are most vulnerable.
- Normal Clean will scan Basic Clean profile locations and also the important privacy areas predefined by Comodo Research Lab.
- Aggressive profile execute a full scan of all privacy areas for any traces of privacy issues.
For more information on default profiles of Privacy Cleaner click here.
For more information on creating custom profiles in Privacy Cleaner click here.
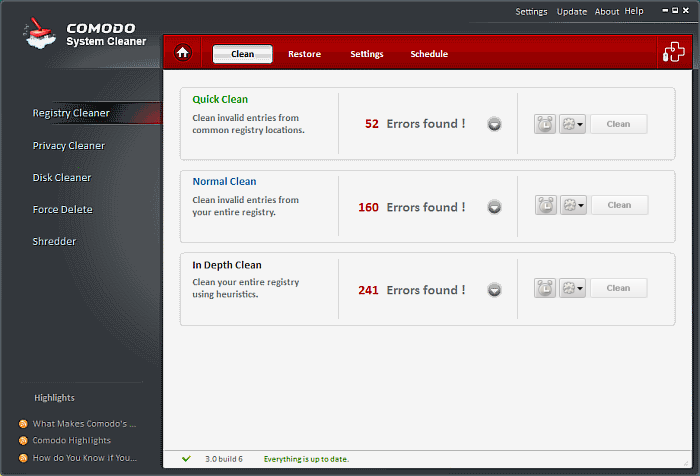
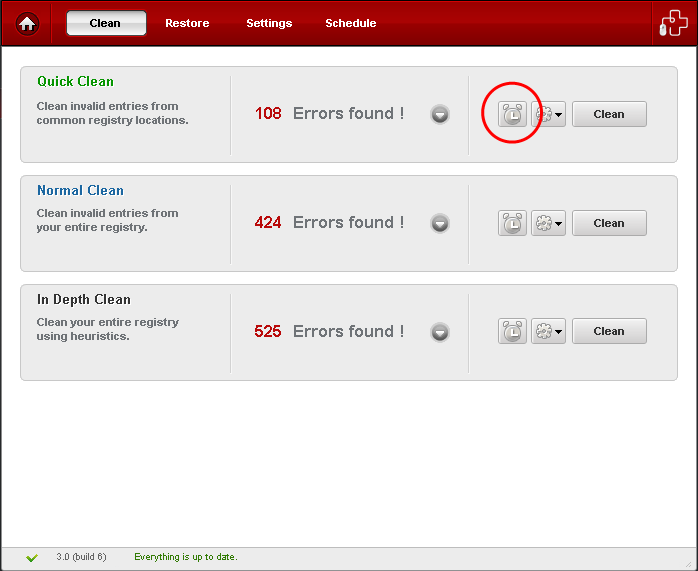
Running an On-Demand Privacy Scan and Clean
- Click the 'Privacy Cleaner' link in the Left Hand Side Navigation pane. The application starts scanning the files in the Browsers/Applications in your system and displays the number of errors found for each type of the profile.
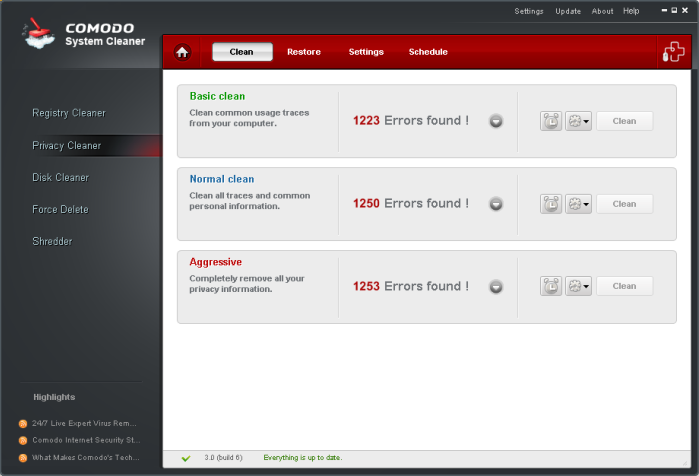
- Click the Clean button against the profile of your choice.

You can see the cleaning status as per the selected profile in the progress bar.

On completion of the cleaning process, the cleaning results will be displayed.

Restore
Comodo Privacy Cleaner generates a backup of the folders/files deleted during the privacy cleaning operations if the option Backup files before cleaning in the Privacy Cleaner > Settings menu is selected.
The backups are stored in date and time stamped folders in the location of your choice. You can store the backup files in your computer locally, on a computer in your network or even in an FTP server. This back-up function enables you to restore the registry to a previous state in case you encounter some system failure or if you want to undo any changes To understand and manage your Comodo System-Cleaner backup please visit Settings > Backup Settings section.
You can disable this option in Settings of the Privacy Cleaner.
Note: Comodo strongly recommends not to disable back-up option. |
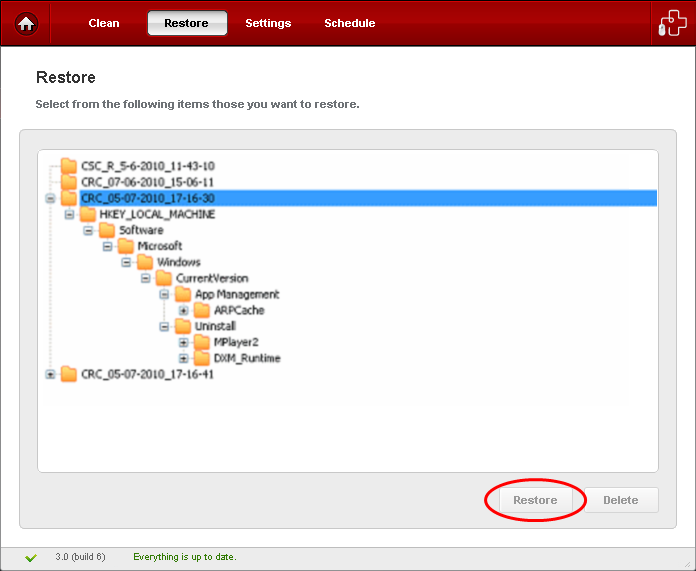
Restoring your folders/files from backup
- Click Privacy Cleaner > Restore.
- The backup files stored at various time points are listed. The file names of the backup files are suffixed with the date and time at which the backup was taken. Select file you want to restore...
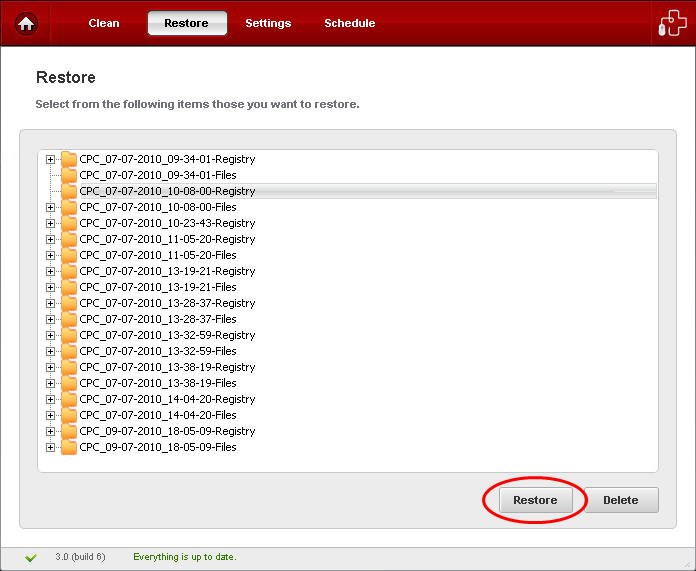
… and click the 'Restore' button.
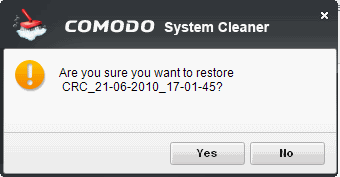
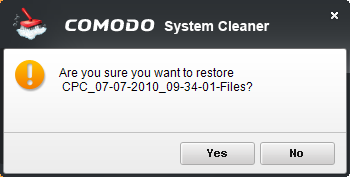
- Confirm your choice in the confirmation dialog.
Settings
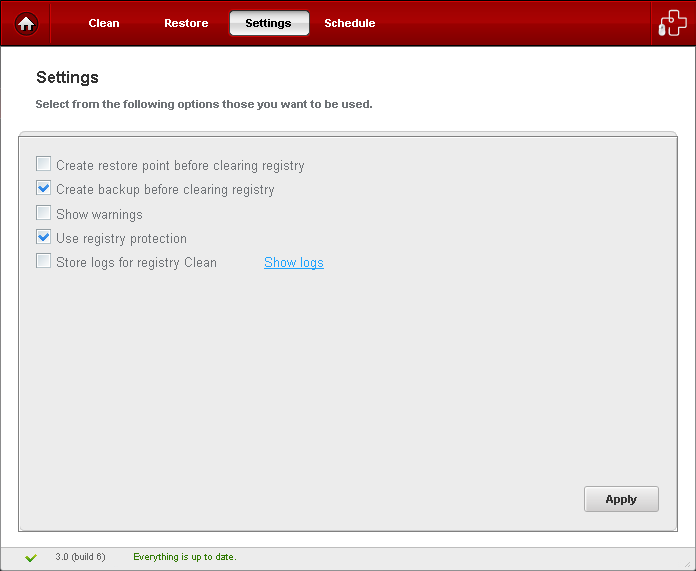
The Settings option in the Privacy Cleaner interface allows you to configure various options related to the operation of the Privacy Cleaner. The Settings panel can be accessed by clicking the Settings tab in the Privacy Cleaner interface.

Create restore point before cleaning
Selecting this option creates a Windows restore point prior to the privacy cleaning operation. A Windows restore point is a snapshot of your system as it currently stands. This is useful because it allows you to roll back your system to its last known working state in the event of system failure or performance problems following software or hardware re-configuration. Comodo System-Cleaner provides this essential failsafe feature in all cleaning modules (for example, you also have the option to create a restore point before running Registry Cleaner and Disk Cleaner operations).
Backup files before cleaning
Selecting this option instructs the Privacy Cleaner to preserve backup for folders/files deleted during any privacy cleaning operation. This way you can use the backup to restore the files at any time on necessity, in case you have accidentally selected some vital files during the cleaning operation. You can store the backup files in compressed, encrypted and password protected, providing an additional level of safety. In this way you are protected from others from maliciously restoring the files you deleted. You have to enter this password every time you restore files from the backup created by the Privacy Cleaner. For more details on location, compression and encryption settings of the backup files, see Settings > Backup Settings section.
Show Warnings
The warning dialogs from the Privacy Cleaner are displayed only if this option is enabled. Uncheck this option if you don't want to see the warning messages and dialogs.
Use SAFE DELETE/REGISTRY PROTECTION
Provides an additional level of failsafe security to File Cleaning operations:
- All files selected for removal will be backed up prior to any cleaning operation.
- Should your system fail to restart after a cleaning operation then the safe-deleted files will be automatically restored and your system rebooted.
- On rebooting your system after any cleaning operation, SAFE DELETE provides you with the option to either finalize the deletion or restore the deleted files.
Store logs for Privacy Cleaner
If enabled, the Privacy Cleaner logs events history about each scan action and result.
Show log
Allows to view logs history.
- Click 'Apply' for your settings to take effect.
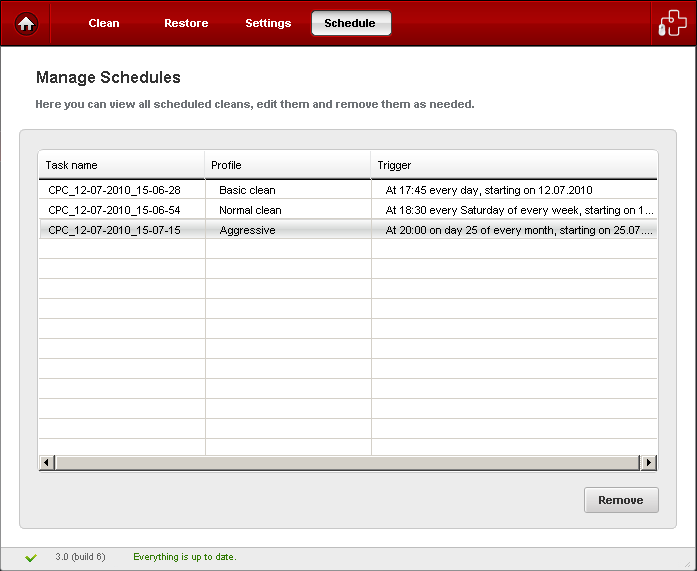
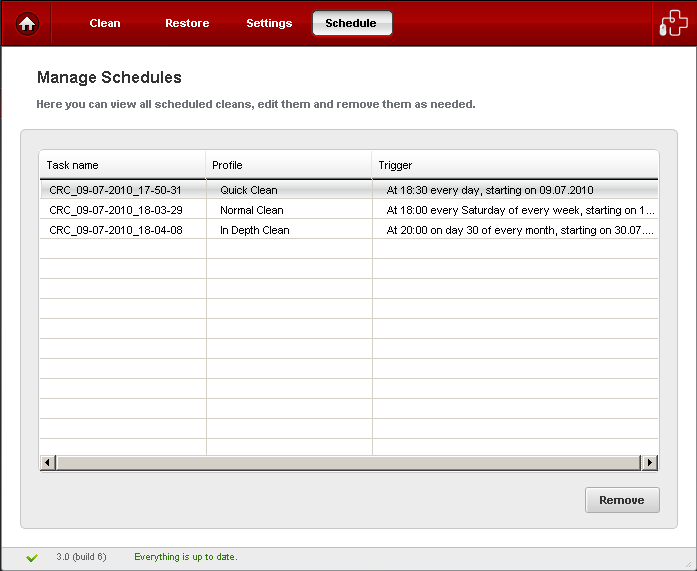
Schedule
The Privacy Cleaner scans and cleans can be scheduled to run at a specific date and time:
To schedule Privacy scan and clean
- Select a profile from Privacy Cleaner > Clean tab and click on alarm clock button beside the desired profile.
- Configure your profile schedule in the next screen

- Daily - Scan and clean are performed daily at the specified time;
- Weekly - Weekly once scan and clean are performed on the specified day (e.g.: If you set the weekly scan and clean on Sunday, this operation will be performed each Sunday at the specified time since the moment have enabled it. )
- Every Month - Monthly once scan and clean are performed on the specified day (e.g.: If you set the monthly scan and clean on July, 20th, this operation will be performed each 20th day at the specified time of the successive months since the moment you have enabled it.)
- Once - Single time at the specific time and date.
- Click on Save Schedule button to save your schedule settings.